

 Building your own home aquarium can be quite an accomplishment and something that you’ll be proud to show off to friends and family. This do-it-yourself project is not too difficult once you have the basic instructions and all of your supplies. However, it will take several days to complete the project.
Things You’ll Need:
One 10 X 20 inch glass panel for the bottom
Two glass panels 20 inches long and 20 inches high for the front and back
Two glass panels 10 inches long and 20 inches high for the sides
Waterproof adhesive
Duct tape
Acetone
Step 1: Order your glass precut to the specifications listed above and pick up the rest of the supplies. All glass panels should be at least ½ inch thick.
Step 2: Once you have all of the supplies needed, find a nice quiet area where you can work and not have to worry about the glass getting broken before you can complete the project.
Step 3: Place the bottom glass panel on a table with one side up against a wall. Place a bead of waterproof adhesive along the edge of the bottom glass panel. Place the back glass on the bead at a ninety degree angle and press downward firmly for about five minute. Allow the back glass to rest against the wall and this will help to keep it secure while you work on the other three sides.
Step 4: Use duct tape to help hold the glass panels in place until the adhesive dries and the glass panels are secure. The duct tape can be placed on the outside of the glass or the inside.
Step 5: Place a bead of sealant along the edge of the side and place the side panel down firmly and hold for about five minutes until the sealant hardens. Then use the duct tape to help hold the glass in place. Repeat for the other side and the front panel.
Step 6: Apply the adhesive along all the joints inside of the aquarium using your finger to smooth it out as you go for added support and to make sure the aquarium is sealed completely from the inside.
Step 7: Leave the aquarium taped together for twenty-four hours so the adhesive will dry completely.
Step 8: Remove all of the duct tape after the adhesive has dried and go over all of the joints on the outside with the adhesive using your finger to smooth it out as you go and wait another twenty-four hours for it to completely dry.
Step 9: Fill the aquarium with water and let it sit for a couple of days to make sure they’re no leaks.
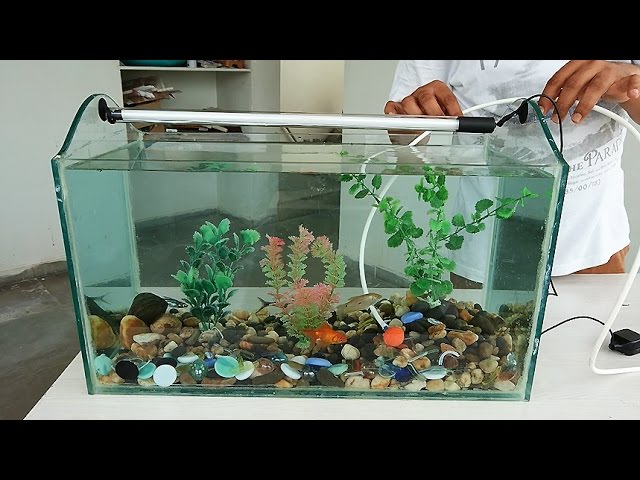
Step 10: Add your gravel, plants and other decorations along with the pump, filter, light and the fish of your choice and you’re ready to enjoy your homemade aquarium.
Tips: If the aquarium does leak, empty out the water and apply more adhesive to the areas that are not properly sealed and test the tank again. You can visit calibrate.care to get more tips.
Warnings: The glass used to make your aquarium must be at least ½ inch thick for small aquariums and at least ¾ inch thick for larger ones in order for it to be strong enough to hold the pressure of the water.
References: Doityourself – Build Your Own Aquarium Tank